 Canada
 US
US
You are now leaving our website and entering a third-party website over which we have no control.
How to switch Statements and Other Documents to online delivery
Learn how to switch your Statements and Other Documents (legal notices, updates and other important information) to online delivery.
To get started, log in to EasyWeb.
1. Go to Delivery Preferences
2. Confirm or update your email
3. Switch delivery preferences
4. Consent and confirm
5. Set email preferences
Step 1: Go to Delivery Preferences

At the top of the screen, select where it shows the name on the account and select Statements and Documents.
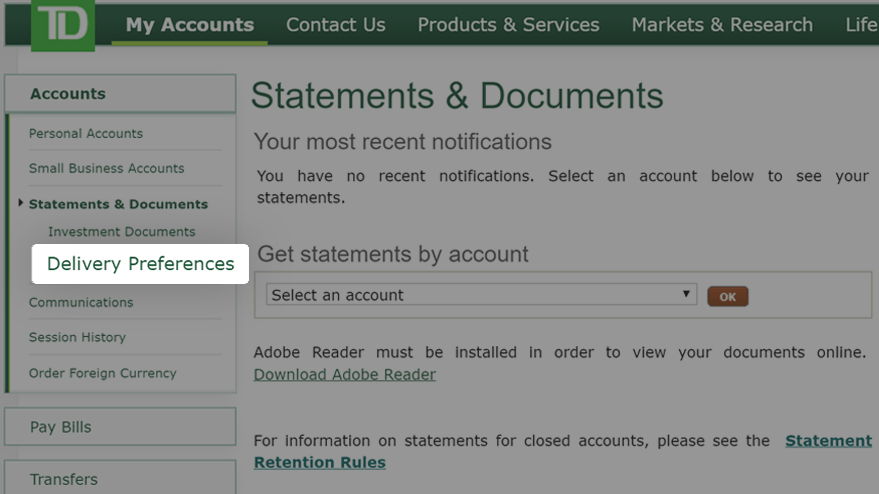
Select the Delivery Preferences option on the left menu under Statements & Documents.
Step 2: Confirm or update your email
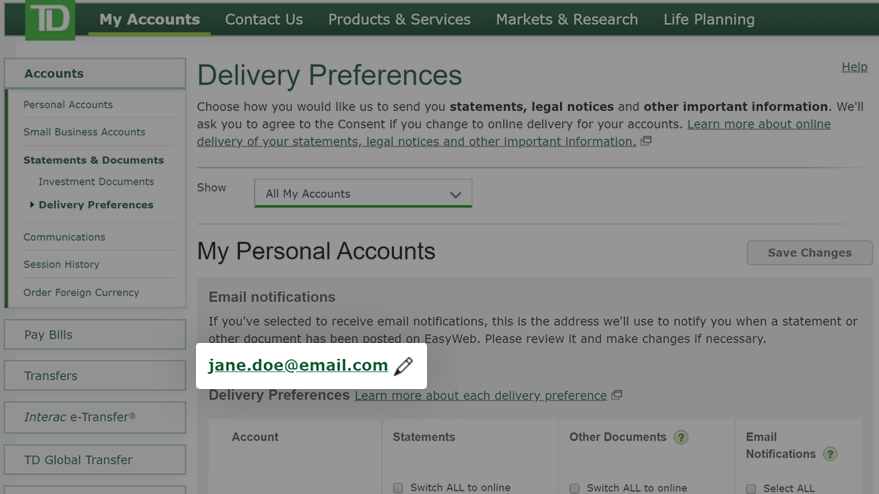
When a Statement or Other Document is posted on EasyWeb, you'll receive a notification by email.
If your email address is correct, skip ahead to Step 3: Switch delivery preferences.
If not, select the displayed email address.
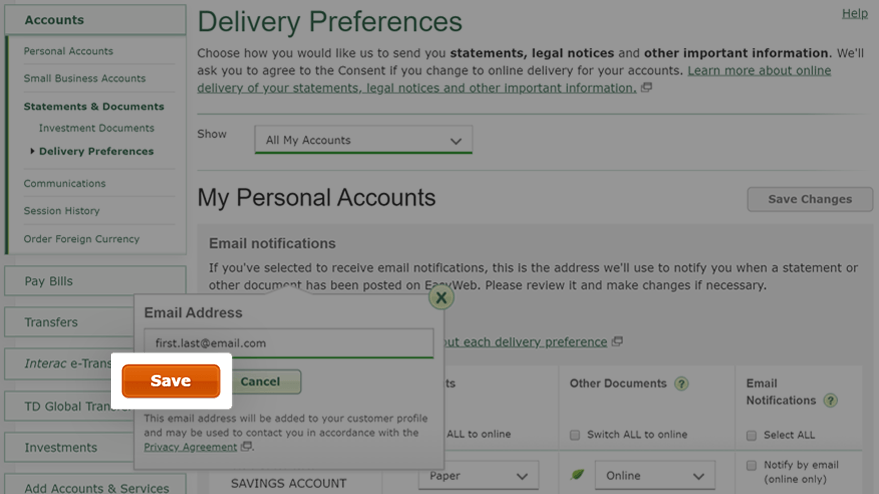
Enter your desired email address and select the Save button.
Email notifications will now send to this address when a Statement or Other Document is posted on EasyWeb.
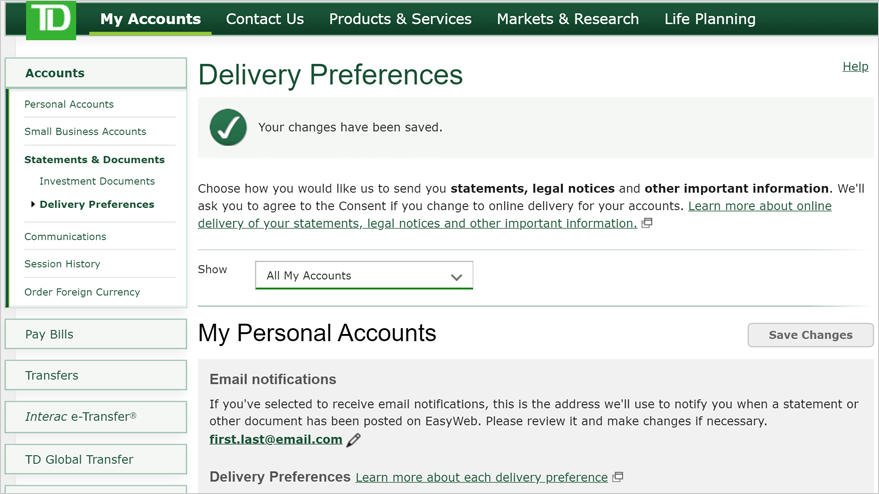
You'll see a message confirming that your new email address has been saved.
Step 3: Switch delivery preferences
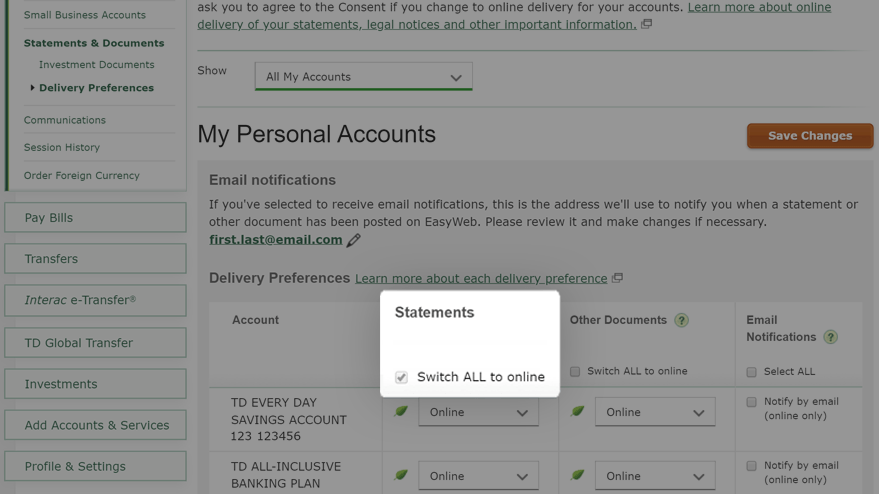
Determine the account(s) you'd like to switch to online statements.
Select the Online option from the dropdown menu in the Statements column.
If you have more than one account and want to switch all accounts to online statements, select the Switch ALL to online box.
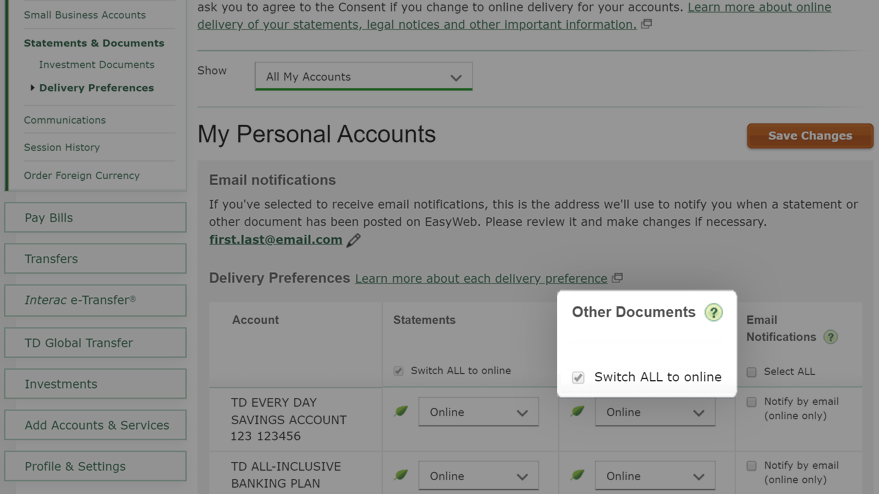
To switch your Other Documents to online delivery, select the Online option from the dropdown menu in the Other Documents column.
Credit products (credit cards, mortgages, lines of credit) use the same delivery method for both Statements and Other Documents. Switching one delivery method will automatically switch the other as well.
This change won't affect your other credit products.
To switch all accounts to online delivery, select the Switch ALL to online checkbox.
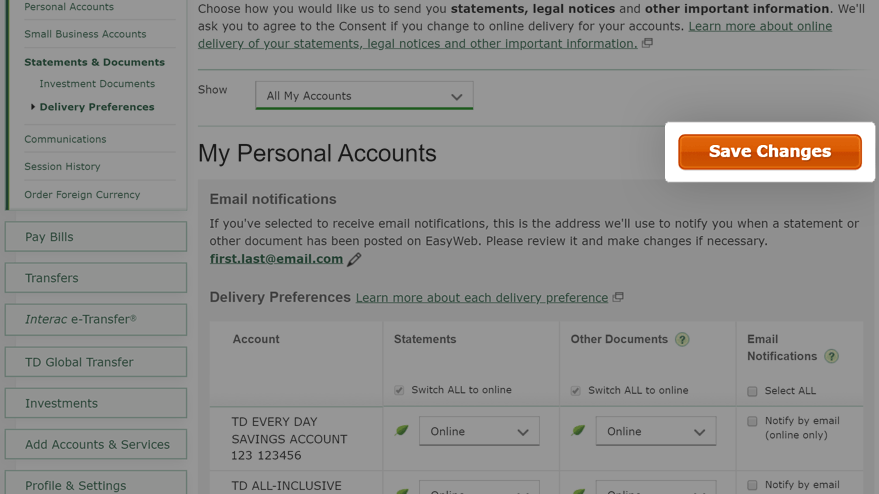
Select the Save Changes button to save your delivery preferences.
You'll be notified by email when online Statements or Other Documents are ready to view on EasyWeb.
Step 4: Consent and confirm
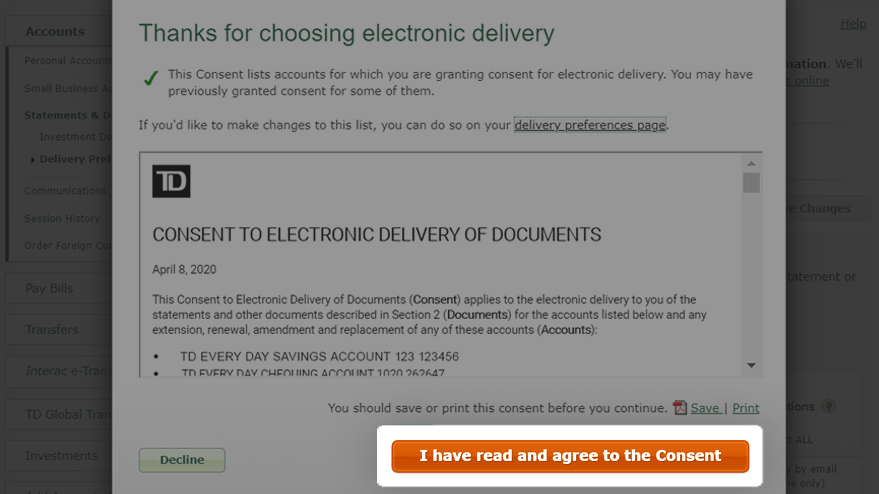
Review the consent terms and listed accounts.
If you'd like a copy for your records, select the Save or Print link.
When you're ready, select the I have read and agree to the Consent button.
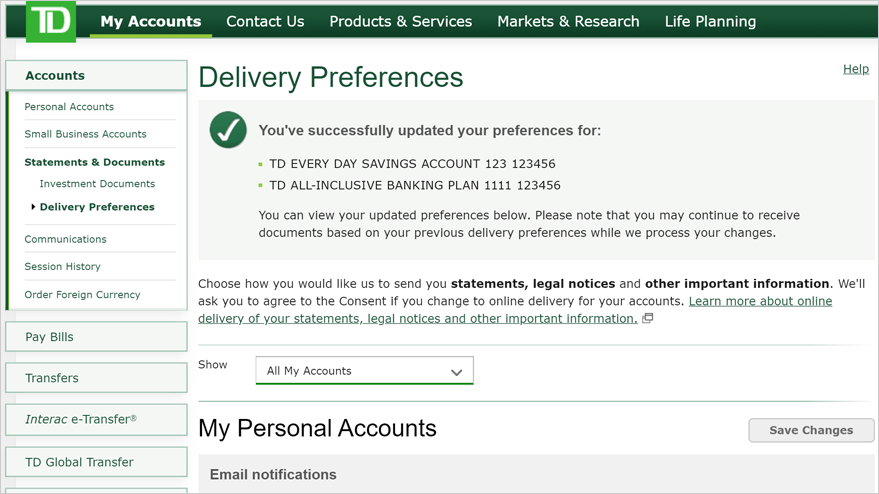
You'll see a message confirming your delivery preferences.
If consent has been removed due to the changes you've made, your confirmation message will make note of it.
You may still receive paper documents while your request is being processed.
Step 5: Set email preferences
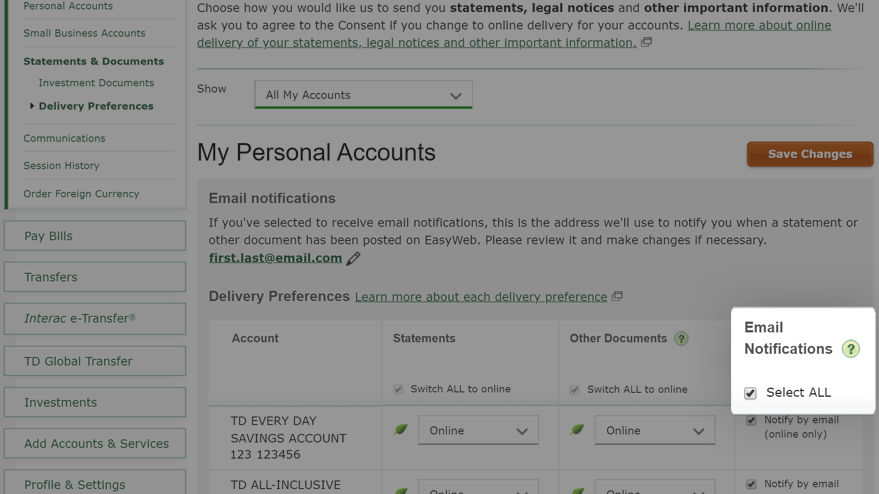
In the Email Notification column, select the Notify by email (online only) checkbox for accounts you'd like to receive email notifications from.
With this box selected, you'll be informed by email when a new Statement or update is available for viewing.
If you want to receive email notifications from all accounts, choose the Select ALL box.

Select the Save Changes button to save your email preferences.
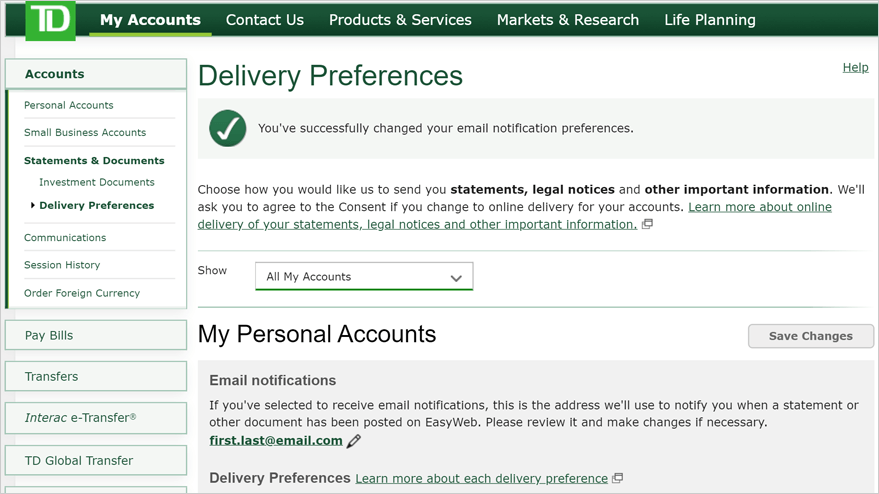
You'll see a message confirming this change to email notifications.
You can return and change your email notification or delivery preferences at any time.
Congratulations! You've completed this tutorial.