Canada
 US
US
You are now leaving our website and entering a third-party website over which we have no control.
How to navigate the TD MySpend app
Learn to take control of your finances. Track your spending, create a wish list of savings goals and get insights that can help make them happen. Download the TD MySpend app to get started. On Android devices, the TD app must also be installed on your device.
Step 1: Enable Real Time Transaction Notifications
Get instant digital receipts on all your TD personal Chequing, Savings and Credit Card account transactions.
Customers can enable/disable the notifications whenever they like.
User can select/deselect which accounts they would like to keep active for MySpend notifications and analysis from the "Preferences" link on the menu.
Step 2: View Spending Insights
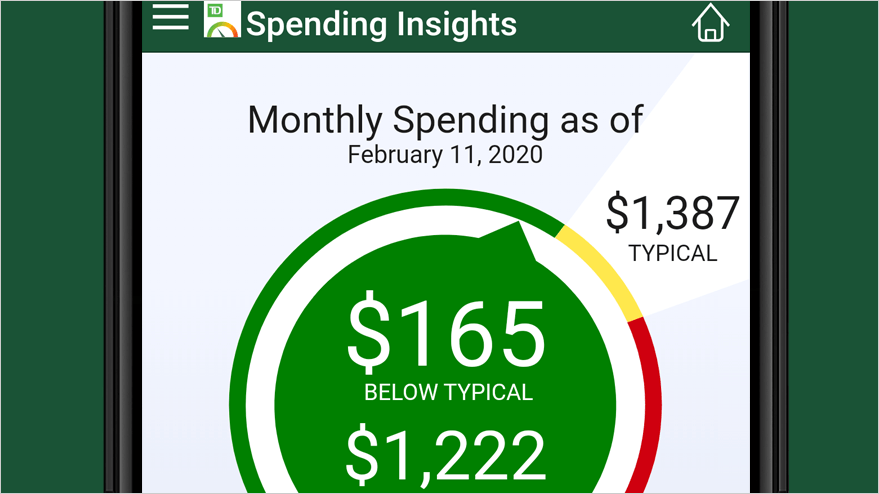
From the home screen, the Spending Insights Meter shows how current spending activities compare to your typical monthly spending habits.
Step 3: Check your Cashflow
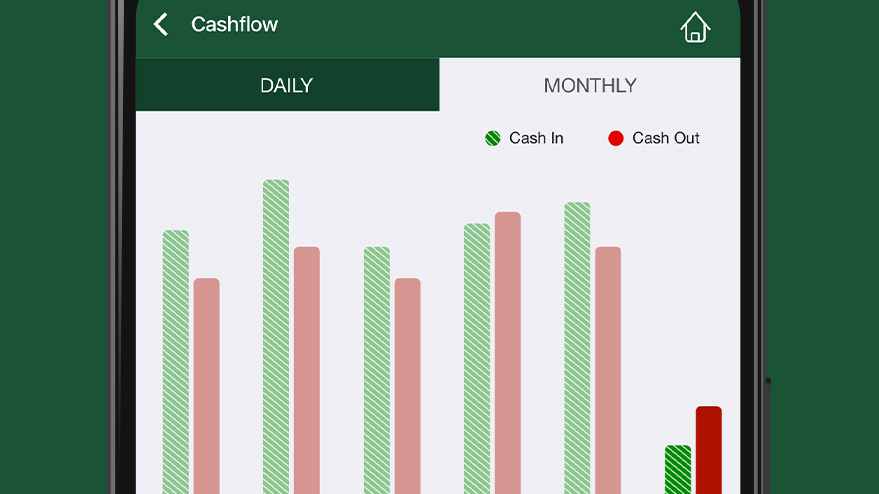
Keep track of your spending and deposits across your accounts so you can see your net cash each month.
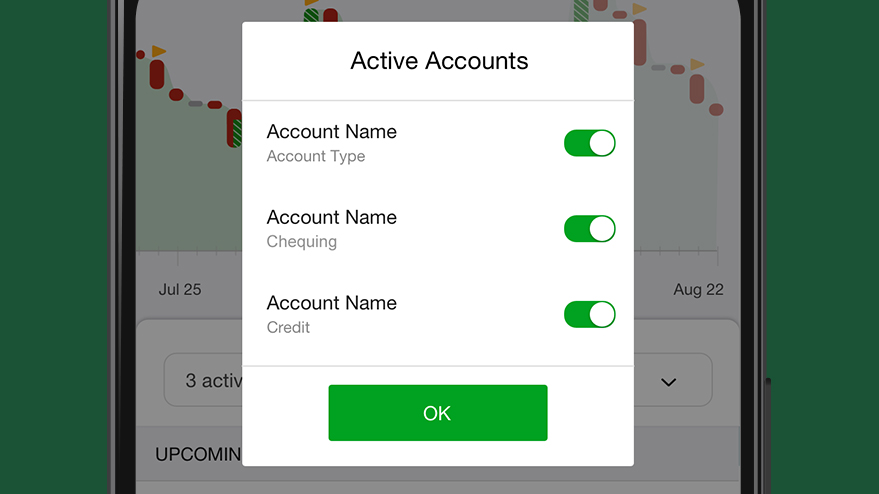
User can select/deselect which accounts they would like to activate for Cashflow analysis.
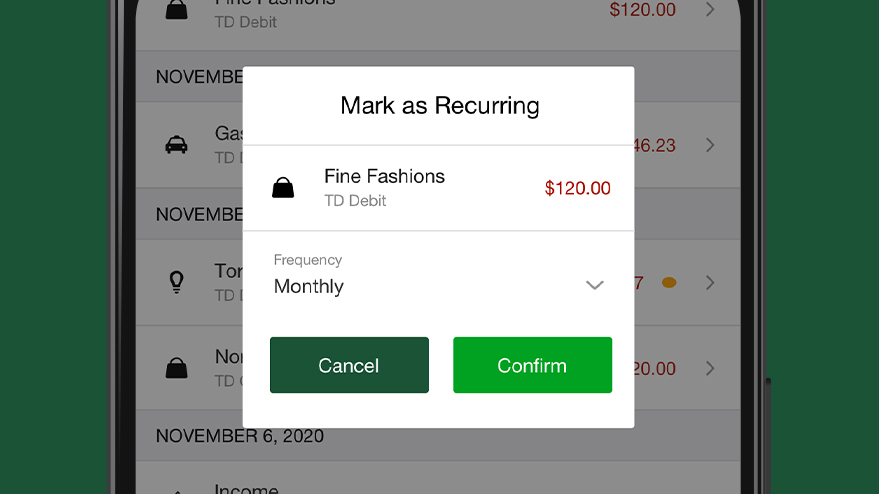
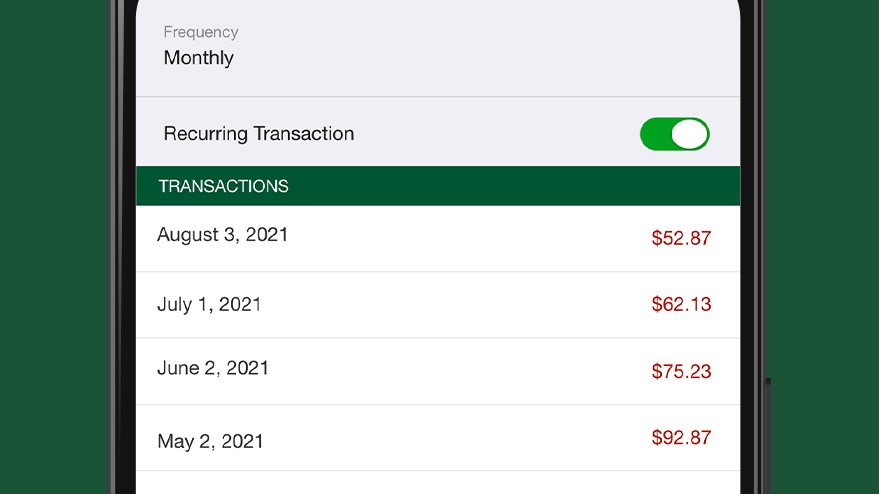
User can mark which transactions are recurring in order to provide insights to future payments.
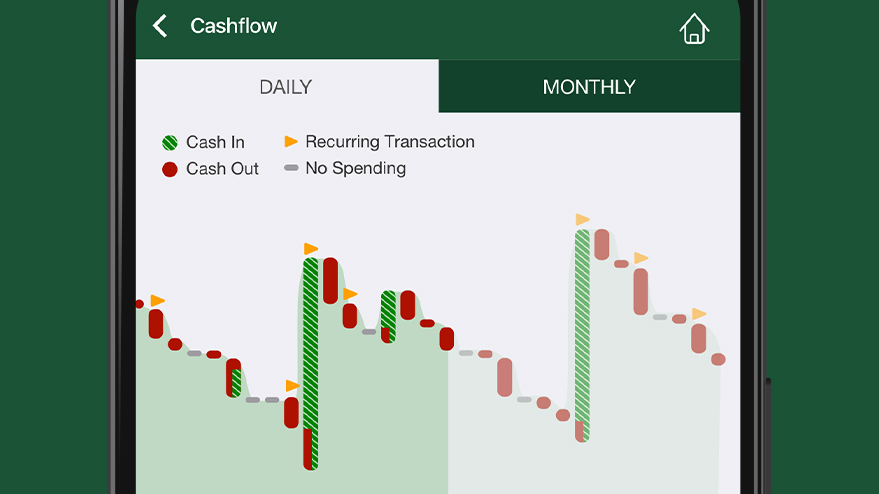
User can access Daily cashflow view.

User can access Monthly cashflow view.
User can view the transaction details and category by selecting a transaction.
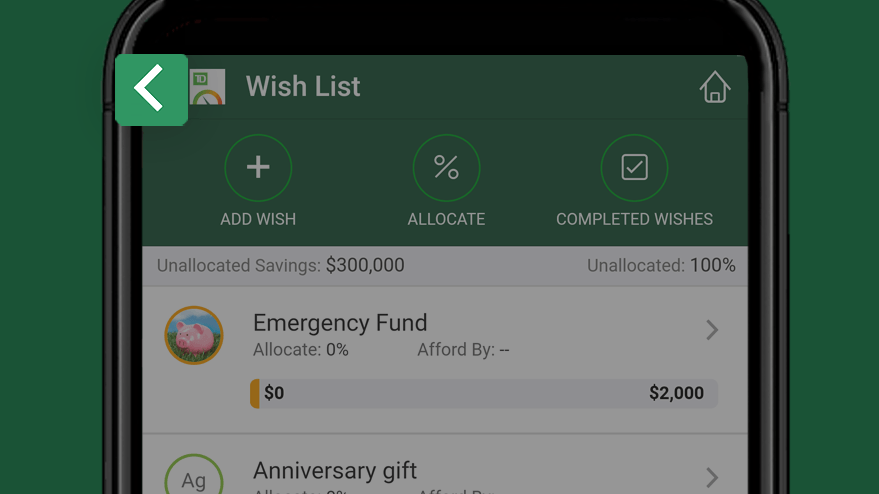
Step 4: Create and manage your Wish List
Wish List allows you to allocate funds from your TD Savings Account for specific goals like a vacation or renovation project.
To manage your Wish List, select the Wish List icon.
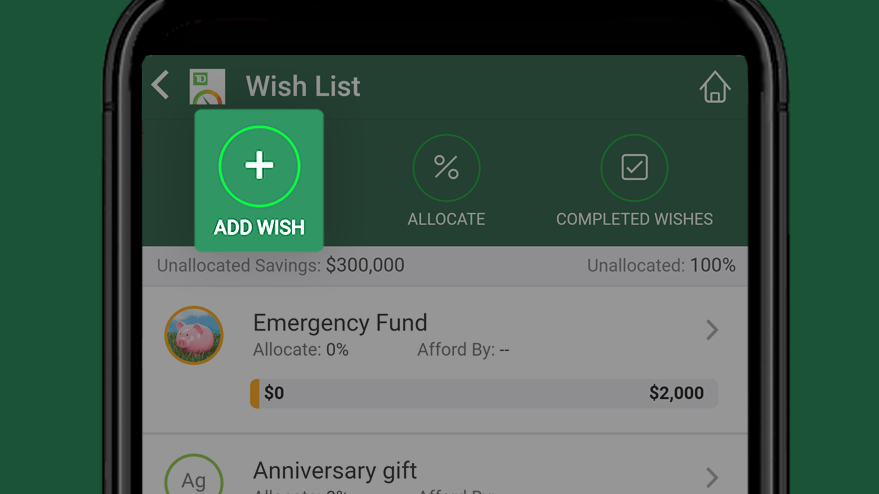
Select the Add Wish button to create a new Wish.
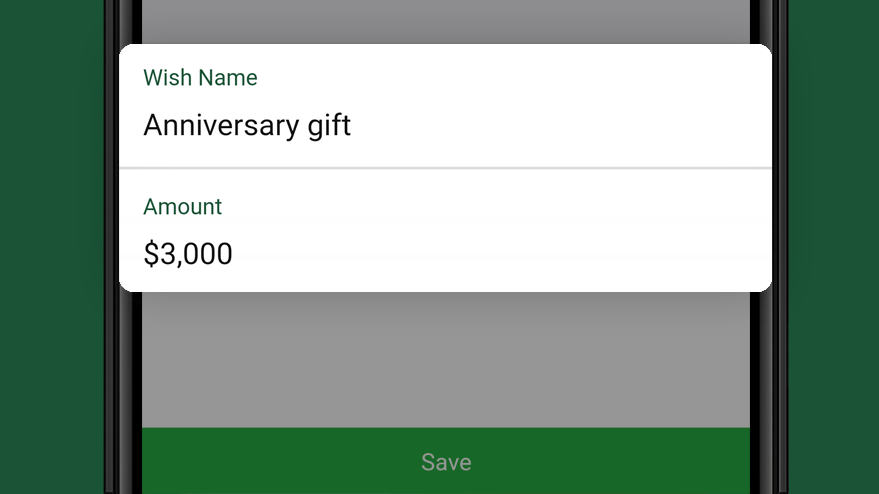
Enter a short description in the Wish Name field (Ex. Anniversary gift).
Enter the amount you want to save in the Amount field.
Select the Save button at the bottom of the screen.
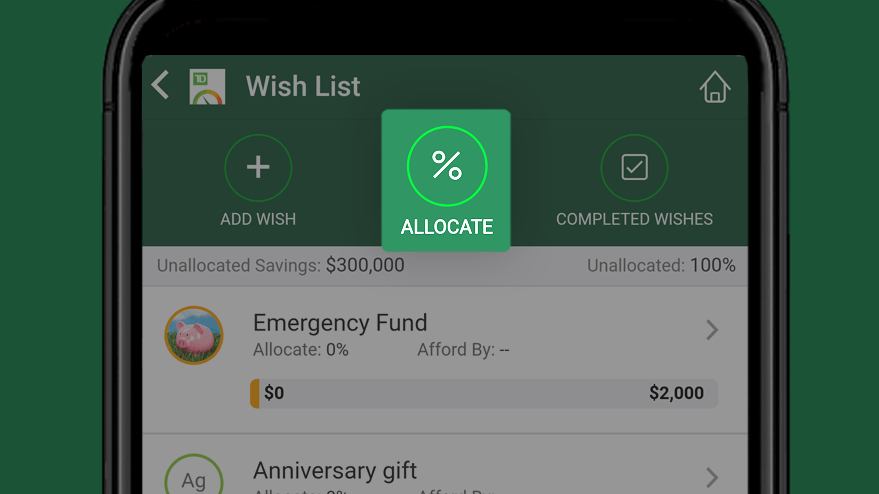
To determine how long it will take to achieve your Wish, select the Allocate icon.
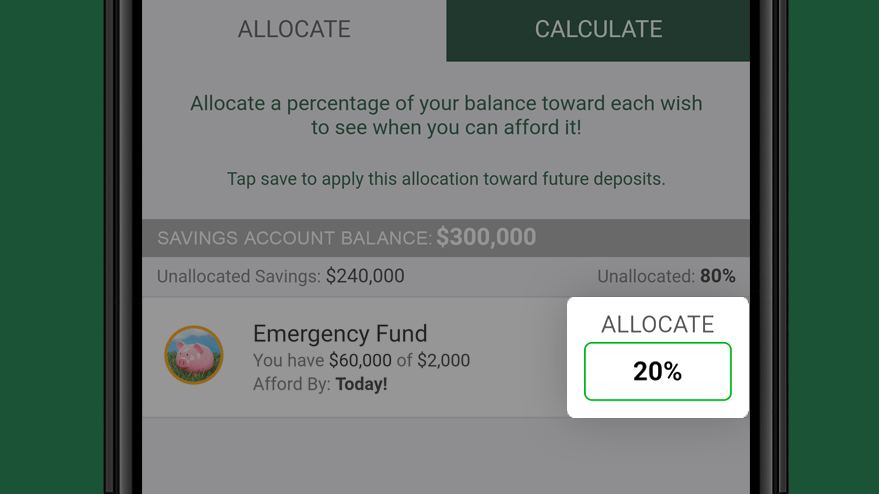
Enter the percentage of your Savings account balance you want to assign to your Wish in the Allocate field.
The screen will update with the date you'll be able to afford your Wish.
Select the Save button at the bottom of the screen.
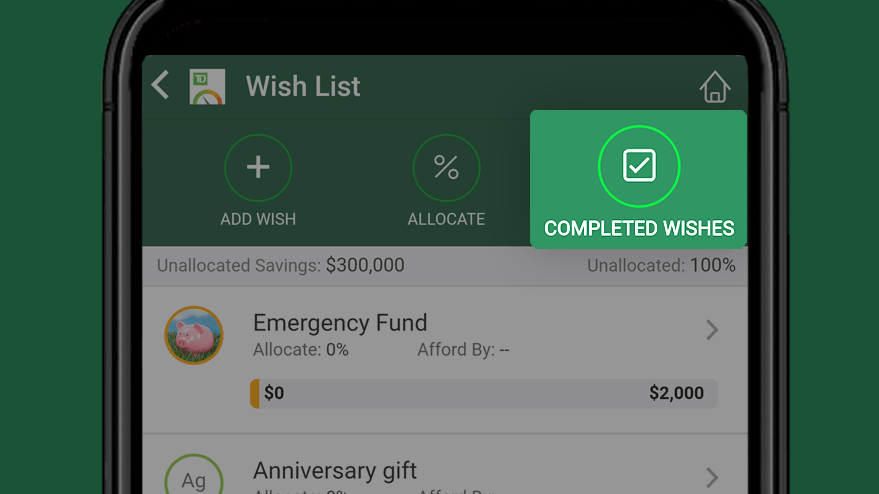
To view previously completed Wishes, select the Completed Wishes icon.
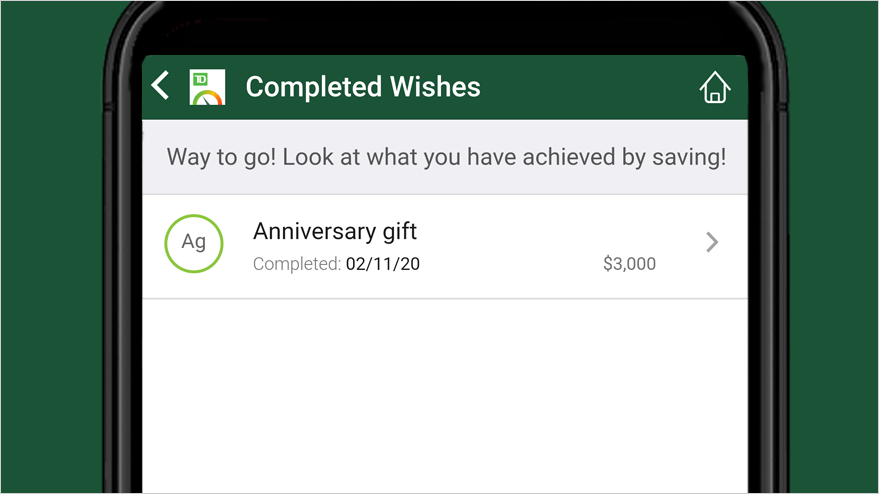
You'll see a list of previous Wishes, along with the date they were completed.
Select the Back (<) button to return to the Wish List screen.
Select the Back (<) button to return to the home screen.
Step 5: Track Spending by Category
To track your spending by category, select the Spending by Category icon from the home screen.
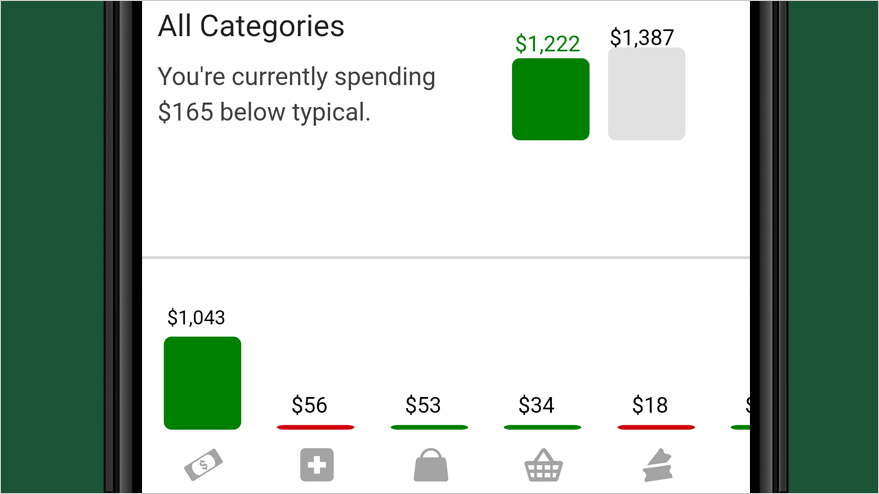
View your spending by category or by wants and needs.
Category bars compare current spending in each category (Ex. utilities, groceries, etc.) to typical monthly spending activity.
- A green bar indicates that you're spending less than the typical amount.
- A yellow bar indicates spending within a typical range.
- A red bar indicates that you're spending more.

Select a category bar to see the list of transactions associated with that category.

If you have a savings goal in mind, select the Set Target button to set a monthly spending goal for this category.
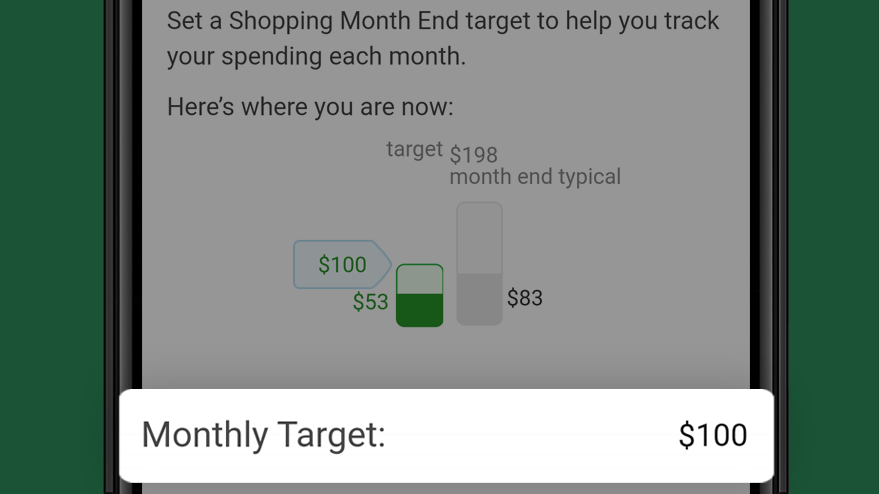
Enter the dollar amount you want to set for this category in the Monthly Target field.
Select the Save button at the bottom of the screen.
To view more details on a specific transaction, select the Expand icon.
To change the transaction category and explore more options, select the Down button or the Category icon.
If you change the spending category, it will be saved and applied to matching future transactions.
To improve the accuracy of your spending meter, you can break down a single transaction into several spending categories by selecting the Split button.
Step 6: View Spending History
Review your Spending History over the past 12 months by selecting the Spending History icon.
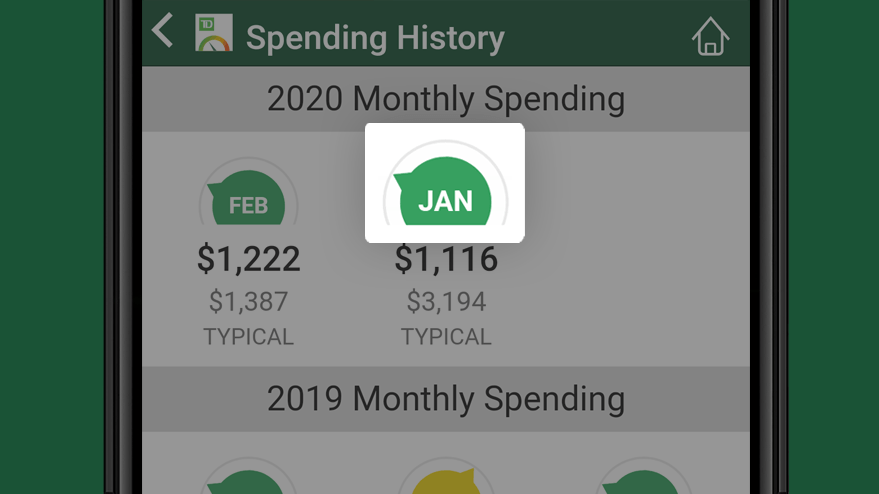
Select a month to view monthly spending details.
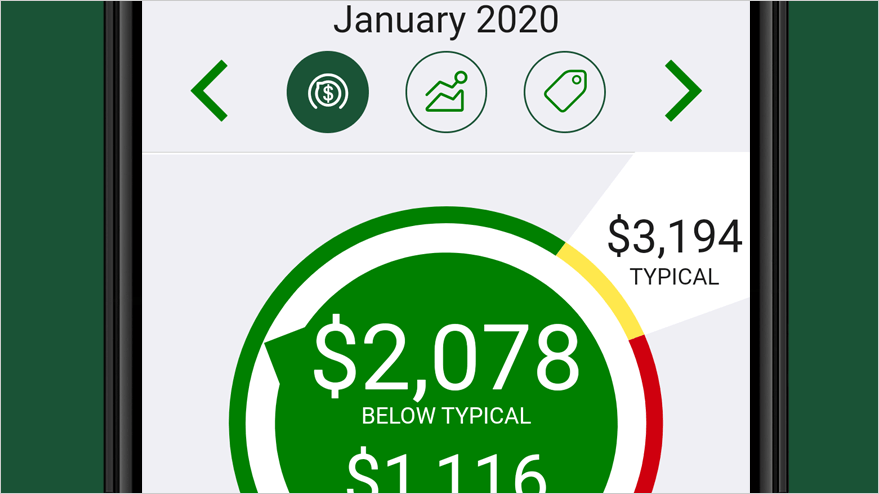
From here, you can view the Spending Insights Meter associated with your selected month.
You can also select the Money Path icon to view the Money Path or the Spending by Category icon to view Spending by Category.
Select the Left and Right arrow buttons to move from month to month.
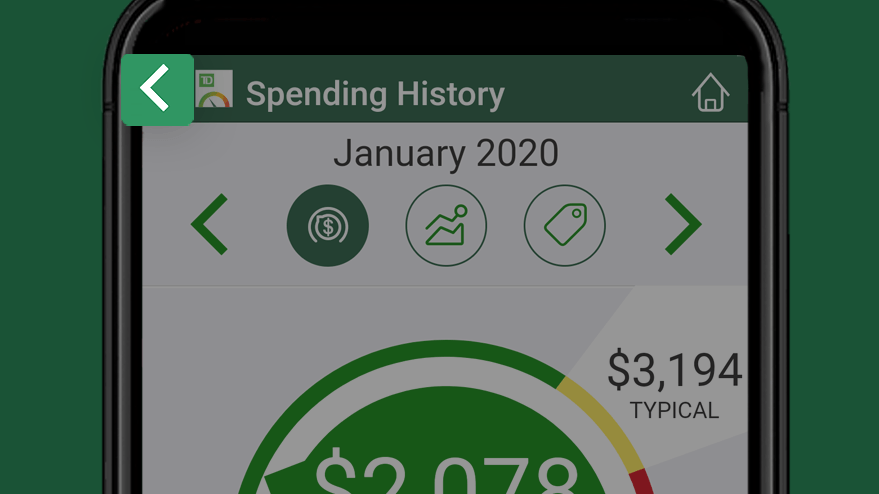
Select the Back (<) button to return to the home screen.
Congratulations! You've completed this tutorial.
Download the MySpend app from the official app store